Art Projects
Kids love doing a variety of arts and crafts as an outlet to be creative and have some fun!
1. Bilateral Coordination– Crafts such as coloring, drawing, cutting, all require your child to use both of their hands together. This skill is important in other areas of their lives as they continue to grow, such as writing, tying shoes, typing and so much more!
2. Fine Motor Coordination– In order to draw shapes, cut patterns, and hand writing, your child is required to use their fine motor coordination. These skills similarly translate to other areas of their lives, such as dressing ,eating, and in the academic setting.
3. Self Regulation– Crafts that require drying require waiting! This is a great lesson for you child to demonstrate self control and patience. Also, as always things might not go exactly as we hoped! Crafts are a great way to promote flexibility in your child. There is no right or wrong way in exploring one’s own creativity!
4. Self-esteem booster– Although we want to challenge our kids, it is also important to initially choose arts and crafts that are at your child’s skill level. Completing the crafts successfully will give them a great sense of accomplishment and pride. As you and your child begin to explore more crafts, you can add in more and more challenges
5. Bonding and fun-Your kids will love spending time with you and creating something together!
What Do You See?
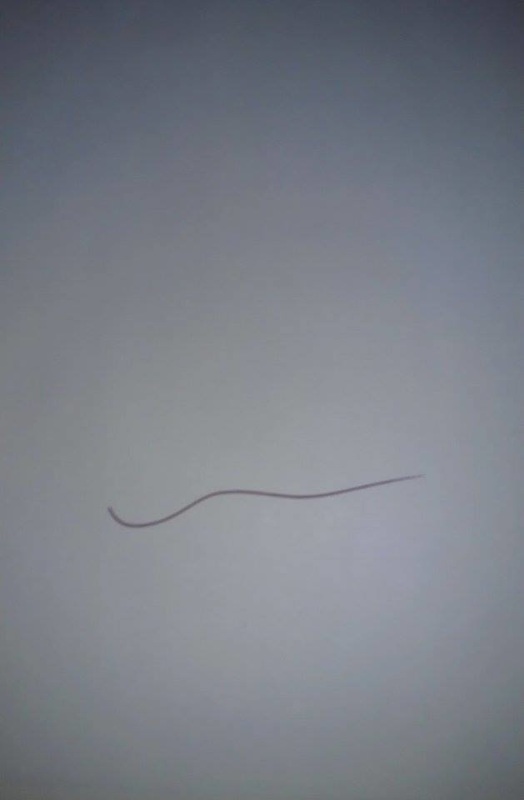
Give students a piece of white paper and have them draw mark
on it. The mark can be anything, a line, or a shape. Next, read them a story
and direct them to imagine what the mark might mean to them. Ask them, “What Do
You See?” After the story is complete, have the students create a picture from
the mark on the page. When the students are finished, have them either turn the
picture in or share it with the class. The finished pictures can be hung inside
or outside the classroom. This can be a classroom activity in reading and writing
subjects, as it allows students to be creative (use their imagination) and
sharpen their listening and fine motor skills. The finished product could also be
used as decorations or gifts.
Materials Needed:
1. A Book
2. Plain White Paper
3. Colored Pencils, Markers, or Crayons
Step-by-Step Instructions:
1. Choose book to read
2. Hand each student a piece of paper
3. Hand each student a mix of colored pencils, markers, or crayons
4. Instruct students to draw a mark on the paper
5. Read the story aloud
6. Have students create a picture
7. Invite students to share their pictures and their thoughts
8. Allow time for discussions about the student's pictures
Create
Students create, through imagination, a picture that connects to the story they heard
Perform
Students complete their pictures and share with the class
Respond
Students have time to discuss their classmates' pictures


Cellophane Art
In this art activity, students will create a shiny picture that
could be used as decorations in the classroom or their home, or given to family
as gifts. This can be a
classroom activity in multiple subjects, as it allows students to be creative and
sharpen their motor skills.
Materials Needed:
1. Cellophane
2. Markers
3. Scotch or Masking Tape (Masking tape works better)
4. Piece of Cardboard (size of coloring book page, if using one)
5. Coloring Book Page (Optional)
6. Aluminum Foil
Step-by-Step Instructions:
1. Have students choose a coloring book page they would like to work with.
2. Put coloring book page on desk
3. Tape down sheet of cellophane over coloring book page
4. Color picture using markers
5. Cover cardboard piece with Aluminum Foil
6. Put colored cellophane over foiled cardboard and tape together
*Optional*
If you do not want to use a coloring book page, you can just draw a picture on the cellophane. Omit Steps 1 & 2, if drawing a picture.
Create
Use imagination to draw a picture
Perform
Draw the picture
Respond
Discuss created work, allowing for critiquing if appropriate

Hanging art decoration
In this art activity, students will create a hanging decoration
that could be used as decorations in the classroom or their home, or given to
family as gifts. They would also make neat Christmas tree ornaments. This can
be a classroom activity will allow students to be creative and sharpen their
motor skills.
Materials Needed:
1. Plastic Lid
2. Elmer’s Glue
3. Beads, String, or other craft items
Step-by-Step Instructions:
1. Fill entire lid with glue (up to the lip of the lid)
2. Place crafting items (beads, string, etc.) in glue in the design they choose
3. Use string to make a hanging spot at the top of the lid
4. Allow to air-dry for three days
5. After three days, carefully pull out the glued piece that filled up the middle of the lid
6. Hang on wall or tree
Create
Use imagination to create a design for hanging art
Perform
Glue craft items in the design chosen
Respond
Discuss created work, allowing for feedback

Homemade coasters
In this art activity, students will create a homemade coaster that could be
used around the house for setting drinks on. It can also be used to decorate a
table, in the classroom or at home. It can be given as a gift for birthdays or
holidays. This activity is a twist on decoupage and will focus on student’s listening
skills, safety practices, and use of creativity. It will provide them practice
in following directions, working safely, and using their motor skills.
*Caution*
This activity involves a hot glue gun and electricity, which can burn the skin. Younger students will require direct supervision. A discussion on safety is required, for all age groups, prior to beginning this project.
Materials Needed:
1. Hot Glue Gun & Glue Sticks
2. Printed Photos
3. Scissors
4. Felt Pieces
5. Blank Ceramic Coasters
6. Small Paintbrushes
7. Bottle of Mod Podge
Step-by-Step Instructions:
1. Have students choose a printed photo to use on their coaster.
2. Students can choose to cut borders into their photos
3. Place cut out photo onto blank ceramic coaster
4. Use a paintbrush to coat mod podge on photo and let air-dry
5. Repeat step 4 (second coat)
6. While the mod podge is drying, students will cut out felt to fit on the bottom of coasters
7. Plug in hot glue gun and insert a glue stick
8. Use hot glue gun to glue felt to bottom of coaster
Create
Use creativity to create borders and coasters
Perform
Complete the necessary steps to make the homemade coaster
Respond
Discuss coasters with other students

Homemade Coasters
